Introduction
Recycling for Gardening: Learn how to create a rotating irrigation system using recycled plastic bottles, saving money and promoting sustainability.
Materials Needed
Gather Supplies: You’ll need plastic bottles, a sharp knife, a nail/skewer, a drill, a garden hose, a hose clamp, and optional items like spray paint and PVC pipe.
Preparing the Bottles
Clean and Dry: Ensure bottles are thoroughly washed and dried, with all labels and stickers removed.
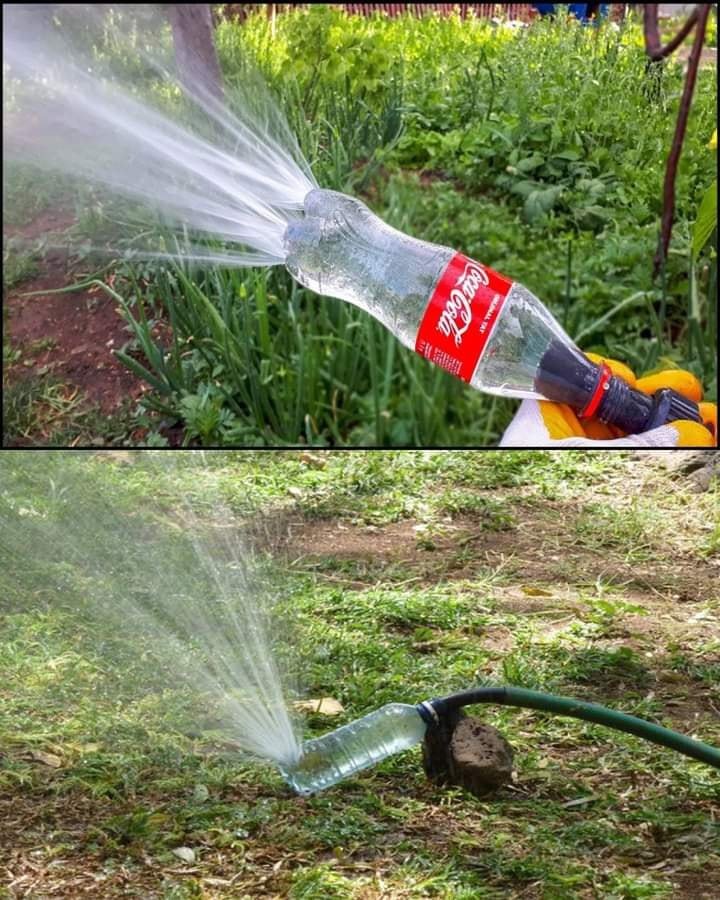
Creating Sprinkler Holes
Poke Holes: Use a heated nail or skewer to make several small holes around the bottom two-thirds of one bottle.
Cutting the Second Bottle
Cut Bottom: Cut the bottom off the second bottle to facilitate connection with the first bottle.
Connecting the Bottles (Simple Method)
Tape Connection: Insert the neck of the bottle with holes into the open end of the second bottle and secure with duct tape.
Connecting the Bottles (Sturdy Method)
Wire or Zip Tie: Drill holes in both bottle caps, thread wire or zip tie through, and twist to secure.
Attaching the Hose
Secure Hose: Make a small hole in the cap of the second bottle, slide the hose onto the bottle neck, and secure with a hose clamp.
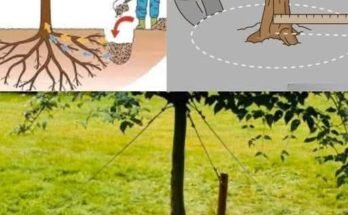
Optional: Adding Height
Use PVC Pipe: Drill a hole in the bottom of the first bottle, slide onto a PVC pipe, and secure with tape for added height.
Optional: Decorating
Spray Paint: Decorate the bottles with spray paint, avoiding the holes.
Using the Irrigation System
Set Up and Test: Place the system in your garden, turn on the hose, and adjust water pressure for the desired spray strength.
Conclusion
Efficient Gardening: By following these steps, you can create an efficient and eco-friendly irrigation system for your garden.